I’ve been hearing a lot about a Keto Diet and thought “Well why not give it a try”. Before I embark on a full-fledged diet change I always experiment with recipes and if they pass the fussy husband test I add them to the list of select meals that make up the menu I choose from.
These passed the fussy husband test and its easy to make in the blender.
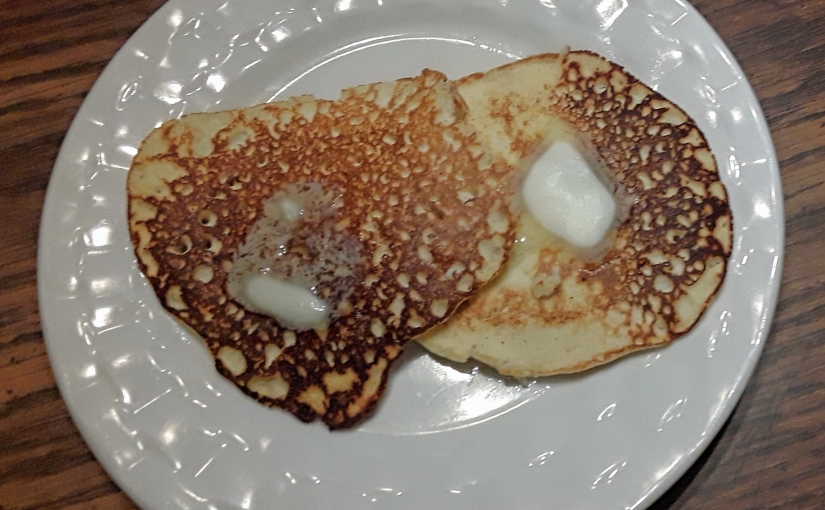
KETO FRIENDLY PANCAKES
INGREDIENTS:
4 oz. full fat organic cream cheese
4 large organic eggs
½ cup plus 1 Tbsp. coconut flour
1 ¼ cups organic milk kefir or buttermilk or coconut milk kefir
½ tsp. cinnamon
DIRECTIONS:
Put all ingredients into the blender and blend until smooth.
Heat griddle and coat surface with coconut oil. Pour batter onto griddle surface. Each pancake should be about 2-3 tablespoons of batter for optimal cooking. Cook 3-4 minutes on one side and gently flip and cook 3 minutes more. Serve with real organic butter and real pure maple syrup.
Enjoy! Here is one of my favorite quotes to start your day!!
“Peace is not the absence of turmoil but the presence of God”
Anyone who has ever grown zucchini squash knows how prolific it can be. After you’ve had your fill, and your pantry and freezer are well stocked and you have given your friends and neighbors all they could eat you’ll find you still have an abundance of left over zucchini. Short of using them for skeet shooting, what to do?
Well, it’s time we think outside the traditional zucchini box. When they ‘re young we sauté them and fry them, turn them into pickles, breads, muffins etc. but once they get too large the centers are stringy, the rinds are tough, what now? Compost?
Fall is the time for savory flavors so I vote we make some healthy zucchini fries.
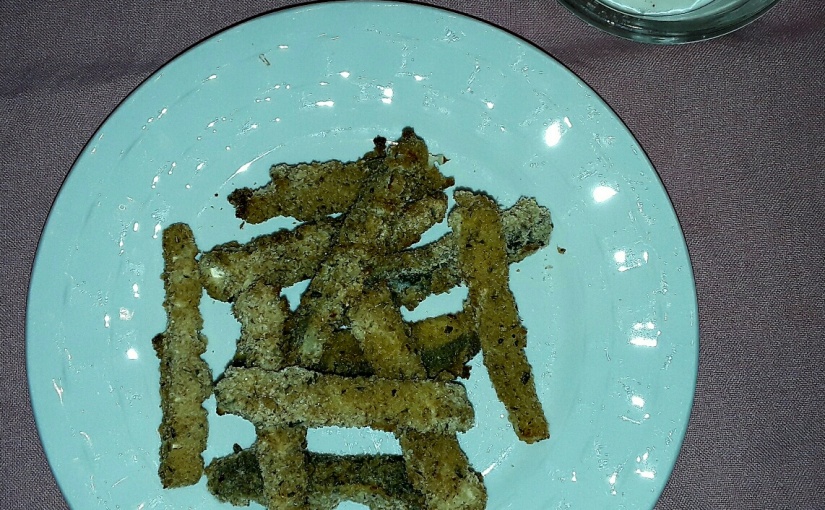
HEALTHY ZUCCHINI FRIES
INGREDIENTS:
1 large zucchini
Salt
Seasoning of your choice (I use Lawrys)
Cooking spray or olive oil to brush on fries.
DREDGE INGREDIENTS:
Buttermilk or kefir or egg
Organic flour (I’m sure gluten free flour would work if gluten is an issue)
Bread crumbs (panko or Italian or homemade, your choice)
Healthy Zucchini Fry Ingredients
DIRECTIONS:
Wash and slice the fleshy part of the zucchini into ¼ inch sticks 2-3 inches long. Compost the pithy center. Line the zucchini sticks on paper towels and sprinkle lightly with salt to draw out moisture. Leave set for about an hour. Pat zucchini sticks dry with another paper towel. Dredge the zucchini sticks in the flour, then the buttermilk, then roll in the bread crumbs and place them on a baking rack on a baking sheet. Bake at 375 or 15 minutes, then remove them from oven, spray lightly with cooking spray, turn the fries and lightly spray the other side. Return to oven for an additional 15 minutes, remove from oven and season with your preferred seasoning. Serve with your favorite dipping sauce. I love these paired with my kefir ranch dressing. YUM!! Tasty and healthy and kid tested and approved.
375 degrees, 30 minutes.
Enjoy! Here is one of my favorite quotes to start your day!!
“Attitudes are contagious, Is your worth catching?”
I usually do my lacto fermented veggies using whey off my kefir or plain yogurt but while I was stumbling around the world wide web I found this website called “The Crunchy Moose” that had a recipe for fermenting using Milk Kefir Grains, I saw a recipe for fermented garlic and thought what a brilliant idea, adding the health benefits of beneficial bacteria to a super food. WIN WIN…This is the website link to that recipe. http://thecrunchymoose.com/ferment-garlic-using-kefir-grains/. THANK YOU “The Crunchy Moose”
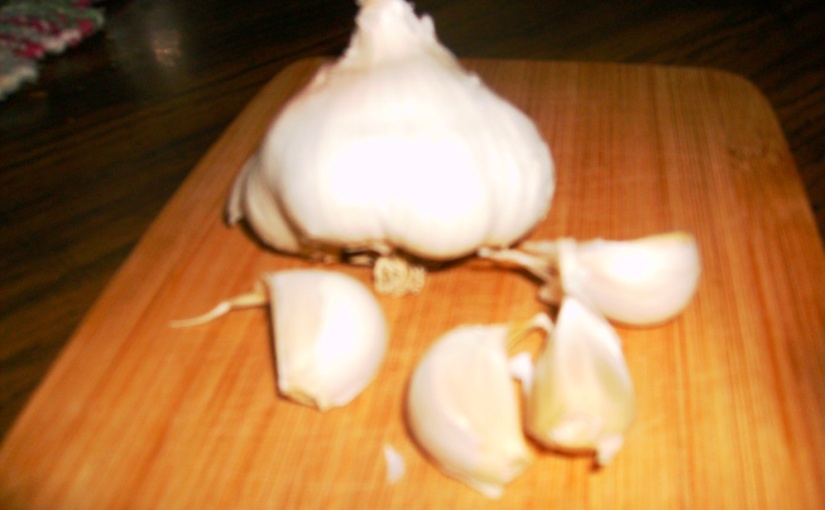
Fermented Garlic
Milk Kefir Grains Fermented Garlic
Ingredients:
Enough peeled garlic cloves to nearly fill a pint jar
non-chlorinated water
1 teaspoon sea salt
1 teaspoon Milk Kefir Grains (rinsed)
Preparation:
AS WITH ANY FERMENTATION PROCESS, CLEANLINESS CAN’T BE EMPHASIZED ENOUGH. KEEP IN MIND THAT YOU ARE CULTURING BACTERIA AND YEAST AND IT IS JUST AS EASY TO GROW HARMFUL BACTERIA AND YEAST AS IT IS GOOD.
Add the salt, milk kefir grains a some of the water to the jar and mix with a non-metal spoon. Add the peeled garlic cloves and top with water until 1 ½ inches above garlic. Weight garlic cloves down to keep submerged below brine. I use a plastic cottage cheese lid cut in a circle to the circumference of the inside of the jar. Put on a loose fitting non-metal lid (gas will form so it needs to escape). I prefer to retrofit plastic mason jar lids with holes and rubber grommets so that I can use a fermentation air-lock. Leave in a cool place out of direct sunlight until it reached the desired fermentation. Put in the refrigerator to stall the fermentation process when it is as fermented as you desire. This is my first batch and I will be trying to reuse my grains in another batch of garlic. I never really have a shortage of grains as they multiply in my milk kefir pretty quickly. I’ll post the results in updates to this blog post.
Fermented Garlic
Enjoy! Here is one of my favorite quotes to start your day!!
“Peace is not the absence of turmoil but the presence of God”
I’ve been on a mission for years to make Crescent Rolls like my mother made. She has long since passed and I wished I had paid more attention to her technique. I’ve tried dozens of recipes but none were quite right. Then I started taking the best features from multiple recipes and I think I finally have accomplished a very close approximation. Maybe even a bit better if that’s possible. Crescent Rolls are always a bit of work unless they come from a can but there are worth the effort. This crowd pleaser will make your Christmas dinner “Merry and Bright”
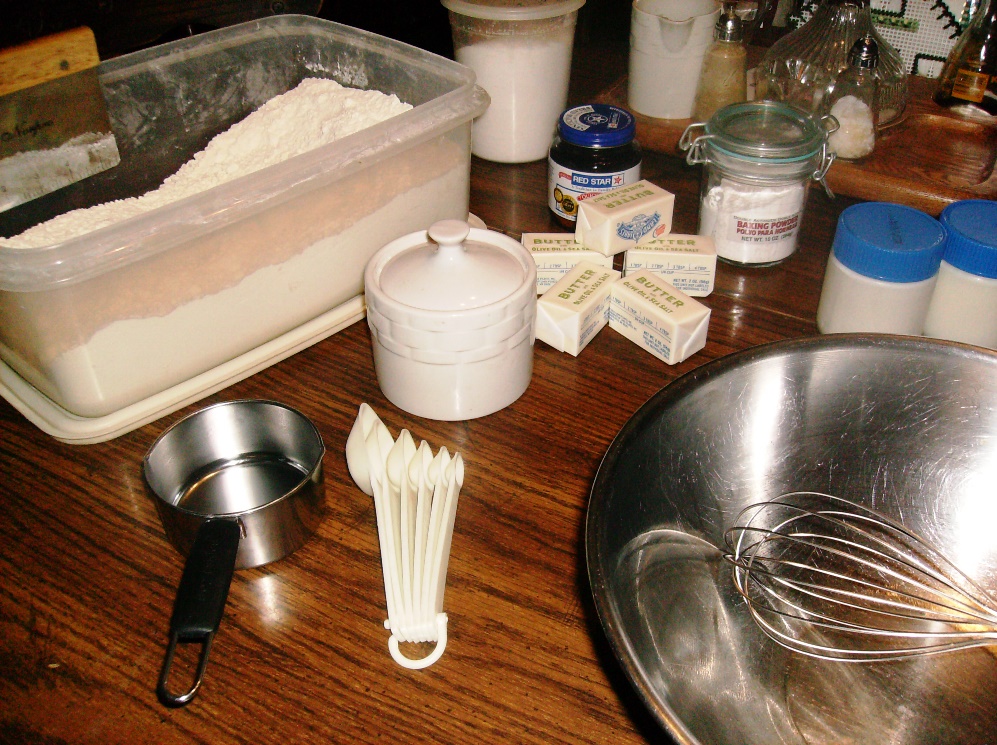
Light and Flaky Butter Crescents
light-and-flaky-butter-crescents
Dry Ingredients:
3 cups organic unbleached flour
2 tablespoons granulated sugar
1 tablespoon rapid rise yeast
1 teaspoon sea salt
1 teaspoon aluminum free baking powder
Remaining Ingredients:
2 1/2 sticks cold butter cut into pieces ( I used an olive oil/butter blend )
1 1/4 cups organic buttermilk or milk kefir (I used kefir because I make my own and always have it on hand)
Preparation:
Mix dry ingredients in large bowl with a whisk.
light-and-flaky-butter-crescent-ingredients
Cut cold butter pieces into flour mixture with a pastry cutter or fork until crumbly.
cutting-in-butterpea-sized-cut-in-butter-pieces
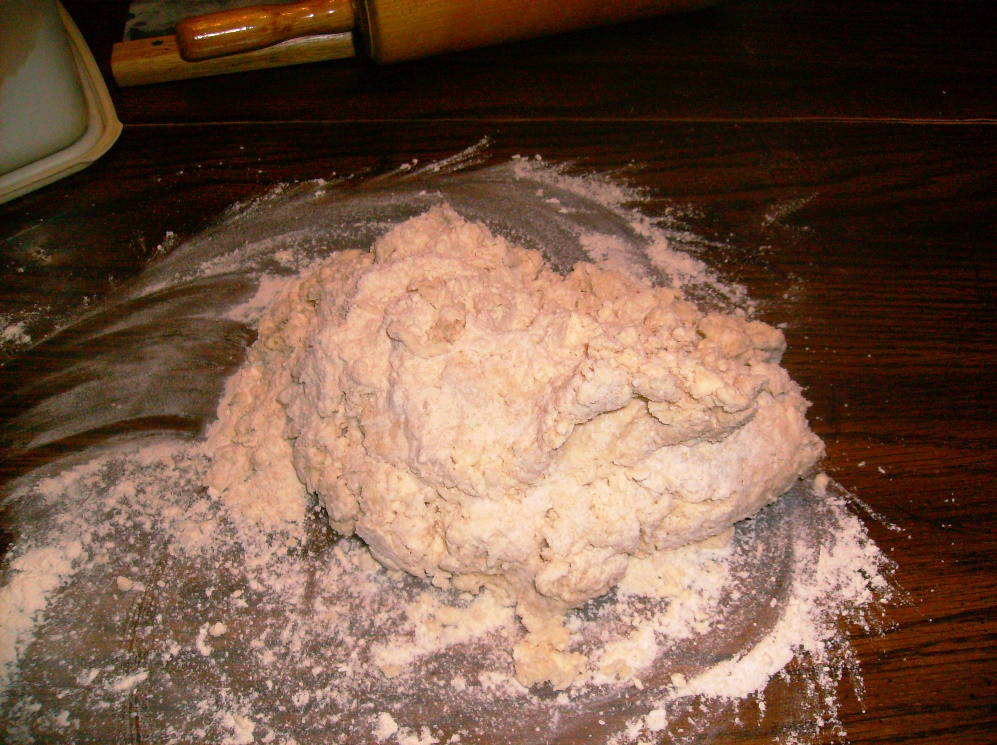
Add liquid and mix (it will look un-cohesive at this point). Turn out onto floured surface and knead until dough comes together but don’t overwork it or you will lose the flakiness.
before-gentle-kneading
Divide the dough in half and form each half into a rectangle. **Roll the rectangle out to approx. 8” x 10”. Fold rectangle in thirds and then in half the opposite way. Roll it out again and fold it again.
dough-divided-and-rolled
Cut the dough in half and shape into a round disk. Wrap in plastic and put in the fridge for at least 2 hours (overnight is best). Repeat with the remaining dough from **.You should have 4 dough disks when you are finished.
dough-disks-wrapped-ready-for-refrigeration
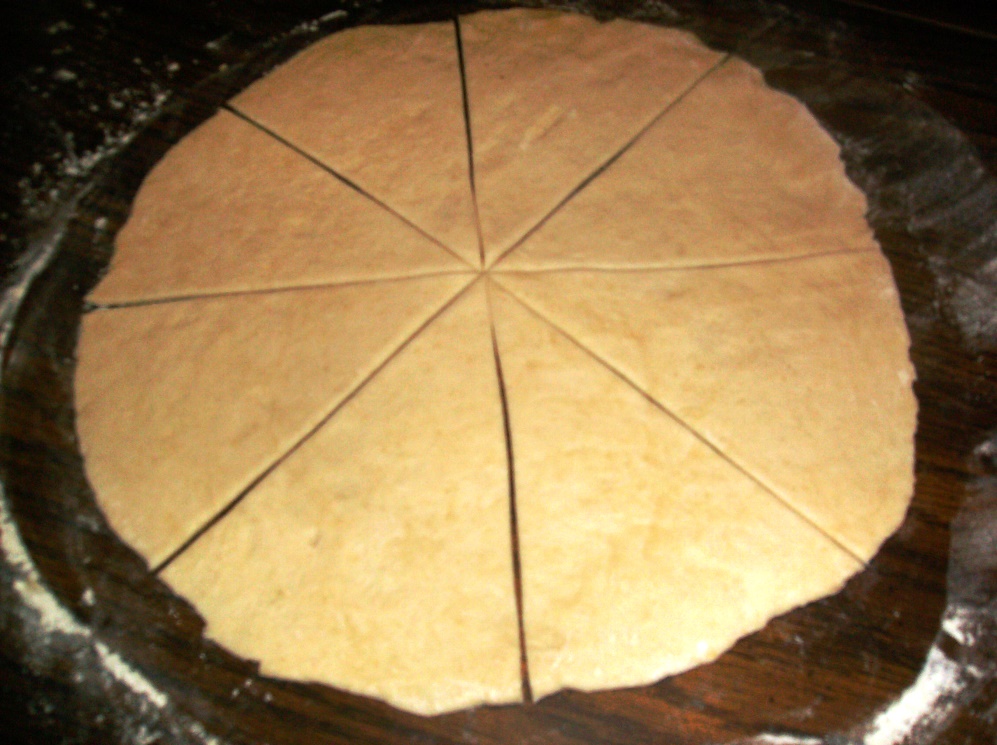
These can be frozen for up to a month if you like. When you are ready to make the rolls remove the dough disk from the fridge or freezer and allow to come to room temp. Put on a lightly floured surface and roll disk into a 10 – 12 inch circle. Cut into 8 equal wedges (I used a pizza wheel to do this).
ready-to-roll-up-almost-there
Roll each wedge into a crescent and put on a parchment lined or lightly greased baking sheet. Cover and let rest for 3-4 hours depending on the temp of your home.
ready-to-raise
Preheat oven to 375 degrees. Bake for 25 minutes. Brush with melted butter. Serve warm. Mmmmmm Mmmm Good.
light-and-flaky-butter-crescents
NOTE: Each rolled disk section of dough makes 8 rolls. Wrap some dough up in plastic wrap and store in the freezer for later use. I pre-freeze mine in plastic wrap then vacuum seal them to store in the freezer for longer periods and to insure freshness.
saved-for-later
Wishing you and yours many Christmas blessing
Enjoy! Here is one of my favorite quotes to start your day!!
“Attitudes are contagious…Is yours worth catching?”
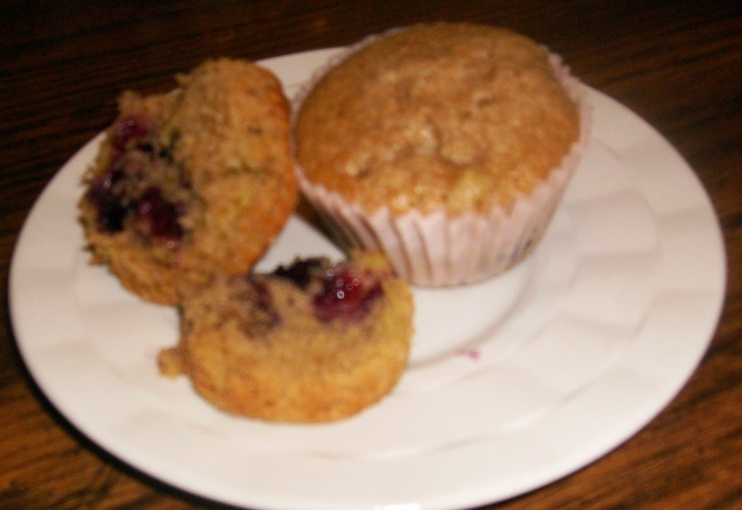
One of my favorite things about simple livin’ is seasonal menus. I don’t have to spend a lot of time planning what I will make because when the pears are ripe we will have things made from pears, when the tomatoes are ripe we will have wonderful tomato dishes etc. Well it’s rhubarb season at the moment and after making the traditional rhubarb dishes like rhubarb pie and rhubarb jam, and tucking some away in the freezer for a mid-winter rhubarb fix, I decided to do some experimenting. I started out with a traditional muffin recipe but…well, I just can’t help myself. I tweaked and substituted my way into a completely different recipe and these breakfast muffins are scrumptious as well as healthy.
Organic Berry Rhubarb Muffins
Dry Ingredients
1 3/4 cups organic unbleached white flour
1/2 cup organic stone ground whole wheat flour
1/4 cup organic ground flaxseed meal
1 1/2 teaspoon baking powder (aluminum free)
1 1/2 teaspoon baking soda
1/2 teaspoon sea salt
Wet Ingredients
1 1/4 cups organic brown sugar (or partially substitute some stevia to reduce calories)
1/2 cup organic coconut oil (melted but not hot)
2 organic eggs
1 teaspoon organic vanilla extract
1 1/4 cups organic kefir or buttermilk
Fold in
1 1/2 cups diced fresh organic rhubarb
1 cup diced fresh organic berries
1/2 cup chopped walnuts
Directions
Preheat the oven to 350 degrees. Grease two 12 cup muffin pans or line with paper cups.
In a medium bowl, stir together the flours, flaxseed meal, baking soda, baking powder and salt. In a separate bowl, beat the brown sugar, coconut oil, egg, vanilla and kefir or buttermilk with an electric mixer until smooth. Pour in the dry ingredients and mix by hand just until blended. Stir in the rhubarb, berries and walnuts. Spoon the batter into the prepared cups, filling almost to the top. Sprinkle top of each muffin with raw sugar.
Bake in the preheated oven until the tops of the muffins spring back when lightly pressed, about 25-30 minutes. Cool in the pans before removing.
Enjoy! Here is one of my favorite quotes to start your day!!
“Peace is not the absence of turmoil but the presence of God”
I must apologize for my absence. As I near the end of my chemotherapy treatments I will try to come up with delicious ways to help eliminate gluten from our diets. This one is short and to the point. Lets get straight to the YUM!
GLUTEN FREE MACARONI & CHEESE
8 oz. Tinkyada Brown Rice Pasta Elbows
1 ½ Cups buttermilk or milk kefir.
½ Cup organic chicken stock (I use Wild Oats)
2 Tablespoons Sweet Cream Butter
3 Tablespoons corn starch
½ teaspoon onion powder
1 teaspoon sea salt
½ teaspoon ground black pepper
½ Tablespoon mustard
8 oz. shredded sharp cheddar
½ Cup shredded Asiago Parmesan cheese
Cook pasta according to directions on package, drain and set aside. Dissolve corn starch in room temperature chicken stock. Melt butter in large saucepan, whisk in buttermilk and heat. Add chicken stock mixture to buttermilk mixture and stir over medium heat until it starts to thicken. Add cheeses, mustard, onion powder, salt and pepper and stir until melted and thick. Remove from heat and fold in pasta.
Enjoy! Here is one of my favorite quote to start your day!!
“Peace is not the absence of turmoil but the presence of God”
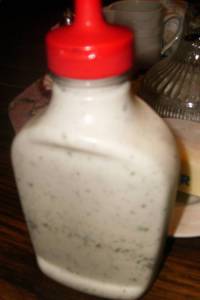
Now that summer is in full bloom so are the fruits of the spring planting. The lettuce seems to gently wave to me in the breeze beckoning “Pick Me…Pick Me” and so I must oblige! There is nothing tastier that an “in season” garden salad full of greens and tasty herbs, tomatoes and cucumbers all at the peak of freshness and bursting with juicy flavor, topped with savory, tangy and healthy, YES HEALTHY Ranch dressing. Nearly everyone loves Ranch Dressing but not the calories, fat, preservatives and price. I can help with that! I’ve played in my kitchen until I’ve come up with a “two thumbs up” healthy version approved by even my 5 year old grandson. We all know what fussy eaters kids can be.
Nanna’s Ranch Dressing
Combine
1 Cup Milk Kefir or Low-fat Buttermilk
½ Cup Plain Greek Yogurt
½ Cup Olive Oil Mayonnaise
1 Teaspoons Sea Salt
1 Teaspoon Lemon juice (optional)
1 Teaspoon Lemon Zest (optional)
1 Teaspoon Fresh Chopped Chives (optional)
Crush finely
½ Teaspoon Garlic Powder
½ Teaspoon Onion Powder
½ Teaspoon Dried Italian Flat Leaf Parsley
¼ Teaspoon Dried Dill Weed
¼ Teaspoon Ground Black Pepper
Combine crushed herbs with the salad dressing mixture, blend well and chill overnight to let the flavors blend. Makes about 2 cups.
Holidays – It’s the most wonderful time of the year!
For most of us the holidays are the most wonderful time of the year. Warm cheerful faces. Good will toward our fellow man. Family and Friends sharing a meal prepared with love. Children filled with giddy anticipation. These are the things we are thankful for. But what to do with all those leftovers. Personally, I like to invite the less fortunate to share in our family warmth. Sharing good food and fellowship. There are so many ways to use all those leftovers but sadly the sweet potato seems to be left out of the creative process of making the old into something new and delightful. This started me thinking of ways to truly use up ALL of those leftovers, including the sweet potato.
The following recipe is good for Mini loaves of sweet potato pineapple bread for gift giving or breakfast muffins.
Great For Gifts
Sweet Potato Pineapple Muffins
Ingredients:
In large bowl combine
1 cup unfed sourdough starter
1 organic egg (beaten)
1 teaspoon organic cinnamon
½ teaspoon organic ground nutmeg
½ teaspoon organic ginger
¼ teaspoon organic ground cloves
1 teaspoon sea salt
1 teaspoon baking soda
¼ cup grape seed or canola oil
¼ cup kefir or buttermilk
¾ cup sugar
¼ cup stevia
1 cup mashed sweet potato
½ cup crushed pineapple
¾ cup chopped walnuts
1 cup organic unbleached flour
1/3 cup organic stone ground whole wheat flour
Mix well. Fill greased muffin tins or mini loaf pans. Bake in preheated 425 degree oven for 25 minutes. Cool. Dust with powdered sugar (optional). These are sure to bring smiles! Enjoy!
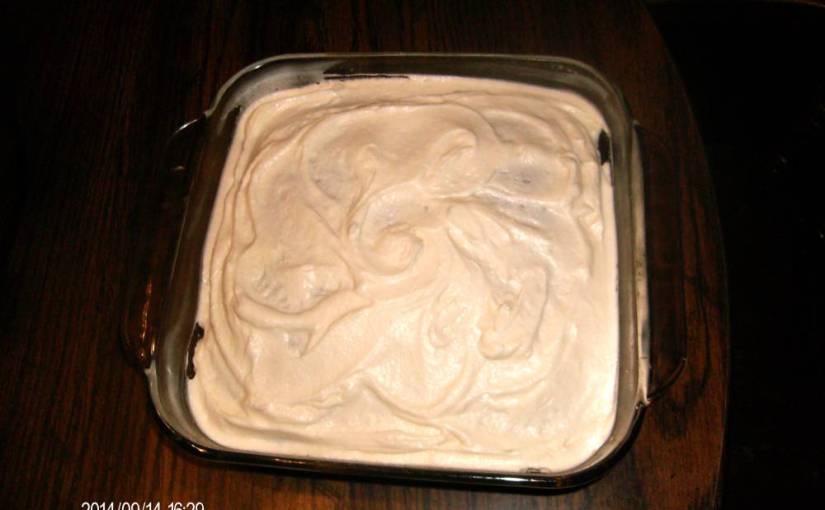
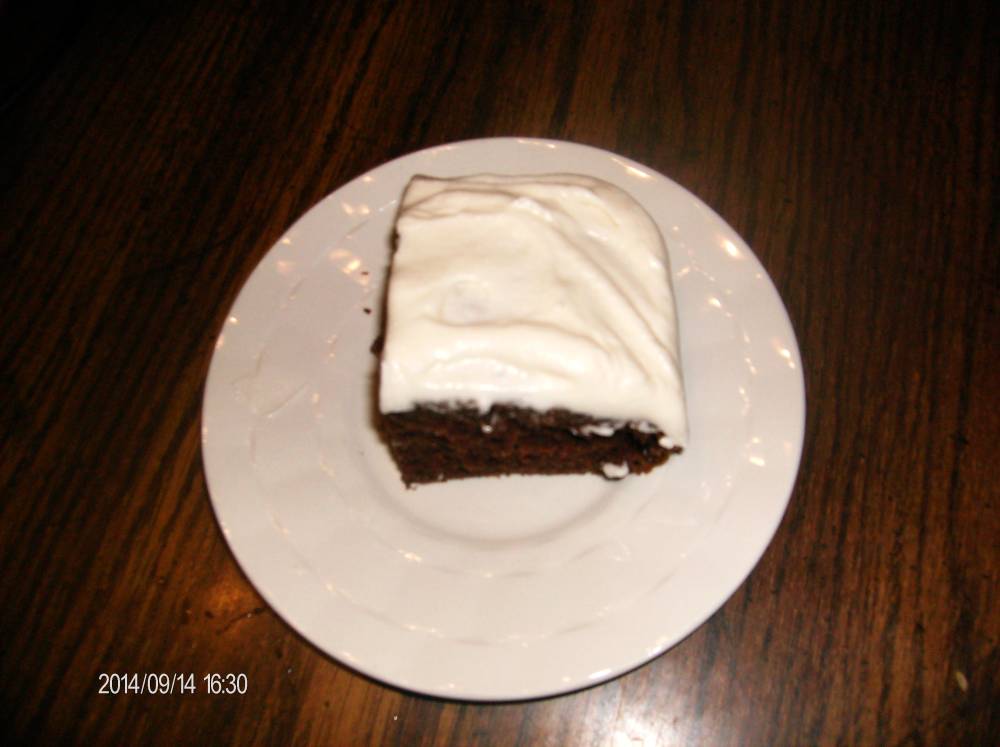
One thing about getting back to basics and getting your “ferment” on, is how so few ingredients can grow and grow and grow. I look around and there is sauerkraut and ginger bug fermenting on the counter, probiotic sodas fermenting in a shelf, sourdough fermenting on the baker’s rack, kefir fermenting……and on and on. They are all being carefully nurtured and cared for so that they can care for us. But they all do grow and multiply. Stalling them in the fridge is a temporary solution and does provide a bit of a break but there is only so much bread, waffles, pancakes, smoothies and yogurt 2 people can eat. So I set out to find new ways (at least new to me) to use some of these wonderful ferments. Today I’ll be documenting my first attempt at making a sourdough chocolate cake with a vanilla kefir frosting.
Here I go…wish me luck!
Sourdough Chocolate Cake
In a large bowl mix:
2 organic eggs
I Cup sugar
½ stick butter (softened)
2 Tablespoons grape seed oil
1 teaspoon organic vanilla
½ Cup sourdough starter
Sift into a medium bowl:
1 Cup unbleached organic flour
1/3 Cup organic cocoa powder
½ teaspoon baking soda
½ teaspoon sea salt
¼ teaspoon baking powder
Combine sifted ingredients with wet ingredients and mix well. Pour into an 8 x 8 inch greased and floured cake pan. Bake at 350 degrees for 30 minutes, or until toothpick inserted into the center comes out clean. Cool completely before frosting.
Recently my Daughter-in-Law Nancy introduced me to kefir (a cultured milk product). Being an avid buttermilk and Greek yogurt user, the wheels immediately began to turn. She gave me a portion of her starter grains and a couple of simple (I’m sensing a theme forming here) rules. Feed it, don’t use metal utensils with it and mostly enjoy it. That was a month ago and I have made Kefir almost daily since. I keep my kefir grains in a glass canning jar. Each night I pour milk over them and cover it with a paper coffee filter to keep out contaminants, let them stand at room temperature for about 24 hours. The next night I strain the grains with a nylon strainer into another jar, put the grains in a clean jar and fill with milk and put it back on the counter. I either use the kefir right away or put a plastic cap on it and store it in the fridge. I’ve used Kefir in place of buttermilk and even regular milk in my recipes with outstanding results. If I need to take a break from making Kefir I just pour fresh milk over the grains and store it with a plastic lid on it in the fridge. It will last for a couple of weeks but if you are like me you won’t be able to go that long without making more!
Today I’m combining the great taste of sourdough with Kefir to make some of the best waffles Mother Nature can provide. I’ll start the process and let her take over. Simplicity is great. It’s kind of like having a chef in the house.
DONNA’S SOURDOUGH WAFFLES
Before you go to bed you will need to combine in a large bowl:
1 Cup of unfed sourdough starter
1 ½ Cups of unbleached organic white flour
½ Cup of stone ground whole wheat flour
1 Cup of Milk
1 Cup of Kefir
1 Tablespoons of honey
Stir well, cover and let stand overnight (about 8 hours)
In the morning combine in a small bowl:
2 Large organic eggs
¼ Cup Grape seed oil (or oil of your choice)
½ teaspoon sea salt
1 teaspoon baking soda
Add egg mixture to sourdough mixture and stir well. Pour by 1/3 cupful onto a greased preheated waffle iron or pancake griddle if you prefer. Cook until golden brown (when the steam dissipates).